Last updated November 17, 2026








Free written scope consultation - allowances, timeline, and change-order rules on paper before a single trade is scheduled
Bathroom Remodeling Troubleshooting: Common Problems and How to Fix Them
A grout crack that comes back six months after you repair it is almost never a grout problem. It’s a substrate deflection problem, and no amount of recaulking will fix it. In our experience across Fairfield bathroom remodels, most of the problems homeowners call us about a year after the crew leaves trace back to decisions made during rough-in, not finish work. That’s the frustrating part: the symptom shows up at the surface, but the cause lives two layers down. This guide helps you diagnose the root cause of common post-remodel problems instead of treating the symptom, and it tells you when a caulk gun is the answer and when you need to escalate.
Quick Answer
Most bathroom remodel problems that appear after construction fall into three buckets: substrate or structural failures (movement behind the tile, weak framing, improper backer board), moisture intrusion from a failed waterproofing layer, and ventilation or rough-in errors that were never visible at handoff. Cosmetic fixes only work on cosmetic failures. If you see recurring cracks, efflorescence, or soft drywall, the root cause is behind the finish and needs a contractor, not a handyman. The good news is that a documented written warranty lets you force the original contractor to make it right.
Styles & brands we work with
- Kitchen remodeling
- Bathroom remodeling
- Home additions & ADU
- Roofing
- Windows & doors
- Driveway & pavers
- Fence
Table of Contents
- Cosmetic Failure vs. Structural Failure: How to Tell the Difference
- Reading the Signs of a Waterproofing Failure Behind the Tile
- Is Your Exhaust Fan Actually Sized for the Room?
- How to Document Defects So a Warranty Claim Sticks
- The Three Defects California Contractors Are Legally Required to Fix
- Fairfield Climate and Soil: Why Local Bathrooms Fail Differently
- A Step-by-Step Sequence for Handling a Post-Remodel Problem
Cosmetic Failure vs. Structural Failure: How to Tell the Difference
The first decision in any troubleshooting call is whether you’re looking at a finish failure or a substrate failure. A finish failure means the top layer (caulk, paint, grout, sealant) has failed while the structure beneath is sound. A substrate failure means the layer beneath the finish has moved, swelled, cracked, or delaminated, and the finish is just showing you the symptom. That distinction decides who you call and how much it costs.
Finish failures are the cheap ones. Recaulking a tub surround, repainting a bathroom wall, or regrouting a small area is often a handyman job under an hour. Substrate failures are the expensive ones. Fixing a deflected subfloor, replacing water-damaged backer board, or correcting a poorly framed shower pan is genuine construction work, and it usually means removing the finish layer to get to the cause.
Here’s how to sort them:
- Cosmetic failure signals: caulk pulls away cleanly at the tub or shower edge with no dark staining behind it; grout cracks appear only along one straight line and reopen after repair but don’t widen; paint peels in a small patch near a single fixture.
- Structural failure signals: grout cracks keep returning in the same pattern across multiple tiles; the floor feels soft or bounces underfoot when you step near the toilet; a shower curb feels spongy; tile sounds hollow when you tap it with a screwdriver handle (a dull thud rather than a hard click); the wall is visibly out of square after a few months.
If you’re seeing any of the second group, stop reaching for the caulk gun. Call a contractor and describe the pattern, not the symptom. “A grout crack comes back every six months in the same spot” is a much more useful sentence than “the grout is cracked.” In Fairfield, we’ve seen this pattern most often in older homes near downtown where the original subfloor was 5/8-inch plywood and the new tile is set over it without an uncoupling membrane. The wood takes on seasonal moisture and deflects a fraction of an inch, which is enough to crack grout through a rigid tile field.
Reading the Signs of a Waterproofing Failure Behind the Tile
Waterproofing failures are the bathroom remodel problem that does the most damage silently. A properly built shower has a waterproof layer (a bonded membrane, a foam board system, or a traditional vinyl liner under a mortar bed) that keeps water entirely off the framing. When that layer fails, water gets into the wall cavity on every shower, quietly, for years. The tile and grout can look fine while the studs behind them are turning to mush.
Learn these four signals, because each points to moisture behind the finish:
- Efflorescence: a white, powdery, chalky crust that reappears on grout lines or tile faces even after you scrub it off. It’s mineral salts being carried to the surface by water moving through the assembly. If efflorescence returns within weeks, water is actively moving through the wall.
- Soft or spongy drywall: press firmly on the drywall on the wall opposite the shower or on the ceiling below the bathroom. Any give at all, or a texture that feels like wet cardboard, means moisture has reached the gypsum.
- Peeling paint specifically on the shower-side wall or the wall behind it: a bubble or peel that reappears after repainting is moisture vapor escaping from inside the wall, not a paint-quality problem.
- Persistent musty smell that doesn’t clear with cleaning: this is mold growing in the wall cavity or under the tile, and it means the failure is advanced enough to need opening up.
If you see two or more of these together, you have a waterproofing failure and it needs a contractor. The fix is almost always more invasive than the visible symptom suggests, because the actual failure is behind at least one layer of tile. A Fairfield bathroom that saw heavy use for decades often shows the combination of soft drywall plus recurring efflorescence on the wall behind the shower valve, which is where the origin of the leak usually sits. If you want to see how we build waterproofing correctly from the start, our bathroom remodeling in Fairfield page walks through the assembly we specify.
Is Your Exhaust Fan Actually Sized for the Room?
An undersized exhaust fan is the most common post-remodel problem we diagnose in Fairfield, and the homeowner almost never suspects it. The fan runs, sounds like it’s working, and looks fine on the ceiling. But it’s moving half the air it needs to, so moisture lingers after every shower, paint peels on the ceiling, and the mirror fogs for twenty minutes. That moisture load is what feeds mold at the ceiling line and rots the drywall box around the fan housing.
The math is straightforward. The Home Ventilating Institute (HVI) sizes fans by cubic feet per minute (CFM), calculated from the bathroom’s volume:
- Rule of thumb: 1 CFM per square foot of floor area for a bathroom with an 8-foot ceiling. A 50-square-foot bathroom needs a 50 CFM fan; a 100-square-foot bathroom needs 100 CFM.
- Adjusted rule for taller ceilings: multiply the room’s floor area by the ceiling height in feet, divide by 7.5, and round to the nearest common fan size. A 50-square-foot bathroom with a 10-foot ceiling: (50 × 10) ÷ 7.5 = 67, so you’d install an 80 CFM fan.
- Add for fixtures: if the bathroom has a jetted tub or a large shower, bump up one size. HVI recommends 50 CFM above the calculated value for a jetted tub.
- Duct matters as much as CFM: a 100 CFM fan connected to a long, pinched, or undersized duct moves well under 100 CFM in practice. Short, smooth, straight duct run to the exterior is what makes the rating real.
Here’s how to test what you actually have. Turn the fan on and hold a single-ply tissue against the grille. If it barely flutters or falls, the fan is undersized or the duct is restricted. If it holds firmly, the airflow is at least in the ballpark. You can also check the fan housing for a printed CFM label, or look up the model number. Compare that number to the rule-of-thumb above. If the installed fan is a 50 CFM unit in a 90-square-foot bathroom, replacing it with an 80 or 110 CFM unit is a straightforward job and one of the highest-value fixes in the room. In Fairfield’s dry summer heat, homeowners sometimes skip the fan entirely because “the air is dry anyway,” which is exactly the mistake. Winter showers here put a lot of moisture into a closed-up room.
How to Document Defects So a Warranty Claim Sticks
A written warranty only helps if you can prove the defect. In our experience, the difference between a claim that gets corrected at no charge and one that gets argued about is a photo file that shows progression, scale, and location. Take five minutes to build that file the moment you notice something wrong. Don’t wait for it to get worse; the early photo is often the most valuable one.
Follow this sequence:
- Photograph wide, then close. Start with a shot that shows the whole wall or floor, so the defect’s location and context are clear. Then a close shot of the defect itself. Then a shot with a tape measure or a coin held next to the crack or drift, so the scale is unambiguous.
- Add a date stamp. Most phones do this automatically. If yours doesn’t, write the date on a piece of paper, put it in the frame, and shoot it.
- Photograph the progression. Re-shoot the same defect from the same angle at the same time of day, weekly or biweekly. A single photo of a crack is arguable; a series showing it widening is not.
- Note environmental conditions. Record whether the defect appeared after a rainy stretch, a hot spell, or heavy use. This helps a contractor diagnose cause instead of arguing about it.
- Write a dated log of what you noticed, when you first noticed it, and what you did about it. One sentence per entry is enough. Include any phone calls and what was said.
- Keep the original paperwork together: the written scope, the signed written guarantee, the manufacturer spec sheets and warranty documents for materials. Our written guarantee and the brand documentation we hand over at close are exactly what you want in one folder.
If you don’t have a written guarantee from the original contractor, that’s a real problem. A warranty with no documentation behind it is hard to enforce. This is the reason Bradford Remodeling puts every scope, price, and guarantee in writing before any work starts: the document is what makes the warranty real. If you’re still choosing a contractor, our Bradford Remodeling Co Fairfield home page outlines how The Garrison Standard structures the paperwork.
The Three Defects California Contractors Are Legally Required to Fix
California gives homeowners a specific, structured remedy for post-construction defects through the Right to Repair Act (Civil Code sections 895 through 945.5), sometimes called SB 800. It applies to new residential construction and to certain remodel work, and it requires the homeowner to notify the contractor in writing before filing suit. The contractor then has a right to inspect and offer to repair before the dispute escalates. For a Fairfield homeowner, that written notice is the trigger, and skipping it can cost you the right to recover.
The three categories of bathroom remodel defect most likely to fall under the Act:
- Water intrusion through exterior or wet-area assemblies: a shower or tub surround that leaks into the framing behind it, where the waterproofing was installed noncompliant with the standards in the Act.
- Structural defects: cracked or deflected framing, improperly anchored tile backer, or subfloor movement that shows up as recurring tile cracks. These are the defects the Act treats as the contractor’s responsibility when the work was done to noncompliant standards.
- Plumbing and drainage installation defects: a shower pan that doesn’t drain correctly, a rough-in that leaks at a joint, or a fixture improperly connected. These are latent defects that often only reveal themselves months in.
The process to invoke the Act looks like this: send the contractor a written notice describing the defect, with photos and your documentation file attached; keep a copy; give the contractor a reasonable window to inspect; accept or decline their proposed repair. If they don’t respond or the repair doesn’t hold, the Act provides a path to mediation and, if needed, litigation. Our technicians have up to 22 years of experience and we’ve watched this play out both ways. The homeowners who win are the ones with written scope, dated photos, and a documented written guarantee. The ones who lose are the ones who relied on a verbal promise.
If you’re outside the Act’s scope (for example, the work was done by an unlicensed contractor), the Small Claims Court route is often the practical choice for repair costs under the county limit. Either way, the paperwork is the case.
Fairfield Climate and Soil: Why Local Bathrooms Fail Differently
Fairfield sits in a pocket of the Bay Area where the summer heat is real, the winter is wet, and the soil under a lot of the older neighborhoods is expansive clay. Each of those things shapes how bathroom remodels fail here, and a guide written for a national audience will miss all three.
The heat matters because bathrooms in Fairfield get hot in July and August. A bathroom without a working exhaust fan or window can hit 90 degrees or more, and that thermal cycling moves the wood framing, drywall, and tile assembly more than homeowners expect. Seasonal expansion and contraction is what cracks rigid grout joints in a room that was fine in the spring. It’s also why we caution against fixing a recurring crack without addressing the substrate. If the assembly has no movement accommodation built in, the crack comes back.
The expansive clay soil matters most in older single-story homes and in areas with slab-on-grade bathrooms. During a wet winter, clay swells; during a dry summer, it shrinks. That cycle can move a slab enough to crack tile over it and to work loose the mortar bed under a shower pan. A hairline crack in a concrete slab bathroom floor is not the same thing as a grout crack – if the slab itself has moved, the fix is a crack isolation membrane or an uncoupling system under the tile, not fresh grout.
Fairfield’s older housing stock adds a third factor. Bathrooms built before the mid-1970s often have copper supply lines that are fine but at the end of their practical life, and drain lines that were sized for a household of four. A remodel that replaces the fixtures without addressing the rough-in can look perfect for two years and then develop a slow leak at a joint that was jostled during construction. If you’re planning a remodel in a home of that era, our general contractor in Fairfield page covers the pre-construction inspection we run before we open a wall.
A Step-by-Step Sequence for Handling a Post-Remodel Problem
When something goes wrong after the crew is gone, the order you do things in matters. Done in the wrong order, you can destroy your own warranty claim or trigger an argument you didn’t need. Follow this sequence:
- Don’t touch it. The instinct is to recaulk, repaint, or regrout. Don’t. A fresh cosmetic patch removes the evidence of the underlying failure.
- Document per the sequence in the previous section. Wide shot, close shot, scale, date, first photo within 24 hours of noticing.
- Read your written guarantee. It should state what’s covered, for how long, and how to file a claim. At Bradford, that’s the 365-Day Done Right Promise: if the work doesn’t hold within a year, we return and correct it at no charge. Get the coverage period and the claim process in front of you before you call anyone.
- Call the original contractor in writing. Send an email or a letter, not a phone call alone. State the defect, attach the photos, and ask for a written response with an inspection date.
- Get an independent diagnostic if the response is slow or vague. A second contractor’s written assessment is cheap insurance if you end up in a dispute. Take photos of the inspection.
- If it’s not covered, decide on repair scope. Cosmetic: handyman. Structural or waterproofing: licensed contractor, permits where required, written scope before work starts.
- Keep every document together, including the final repair paperwork and any new guarantee.
Fairfield homeowners sometimes skip step 4 because they don’t want the confrontation. But a written call with a deadline is what forces action, and it’s the same letter a mediator or small claims judge will want to see. Live-person phone coverage matters here too: if you call us at (833) 998-3242 with a problem on a Sunday night, a real person picks up and can walk you through the documentation before you’ve lost the evidence.
Common Mistakes to Avoid
- Recaulking over a wet joint. Caulk doesn’t adhere to a damp surface, so it fails within weeks and the moisture keeps spreading. Dry the joint fully and find the source first.
- Repainting a peeling wall without fixing the humidity. The paint peels again because the moisture is still coming through. Fix the exhaust fan or the waterproofing before the paint goes back on.
- Choosing a handyman for a substrate repair. A handyman can regrout. A substrate failure needs a contractor with a license and, in many cases, a permit. The wrong call here doubles the cost when the repair fails.
- Ignoring efflorescence because it “comes off with a scrub.” It comes back because water is still moving. Cleaning is the symptom fix, not the cause fix.
- Letting the warranty period lapse before reporting. Report the defect the day you notice it, not the week before the year is up. The documentation window matters.
- Hiring a bid with no written price. A verbal estimate has nothing behind it. That’s how surprise invoices happen and why we put every price in writing before work starts.
- Skipping the permit because “it’s just a bathroom.” Fairfield and Solano County permit requirements apply to plumbing, electrical, and structural work in a bathroom. An unpermitted remodel is harder to sell and harder to warranty later.
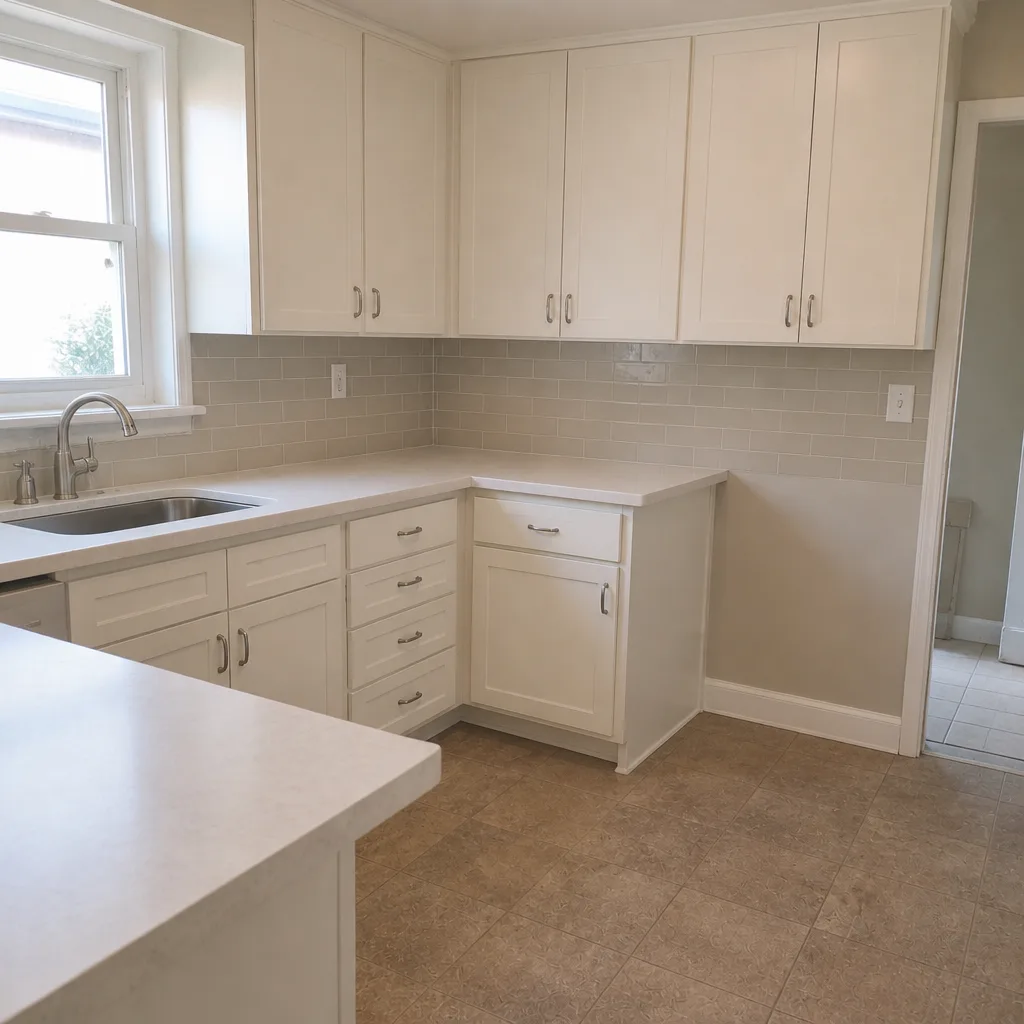
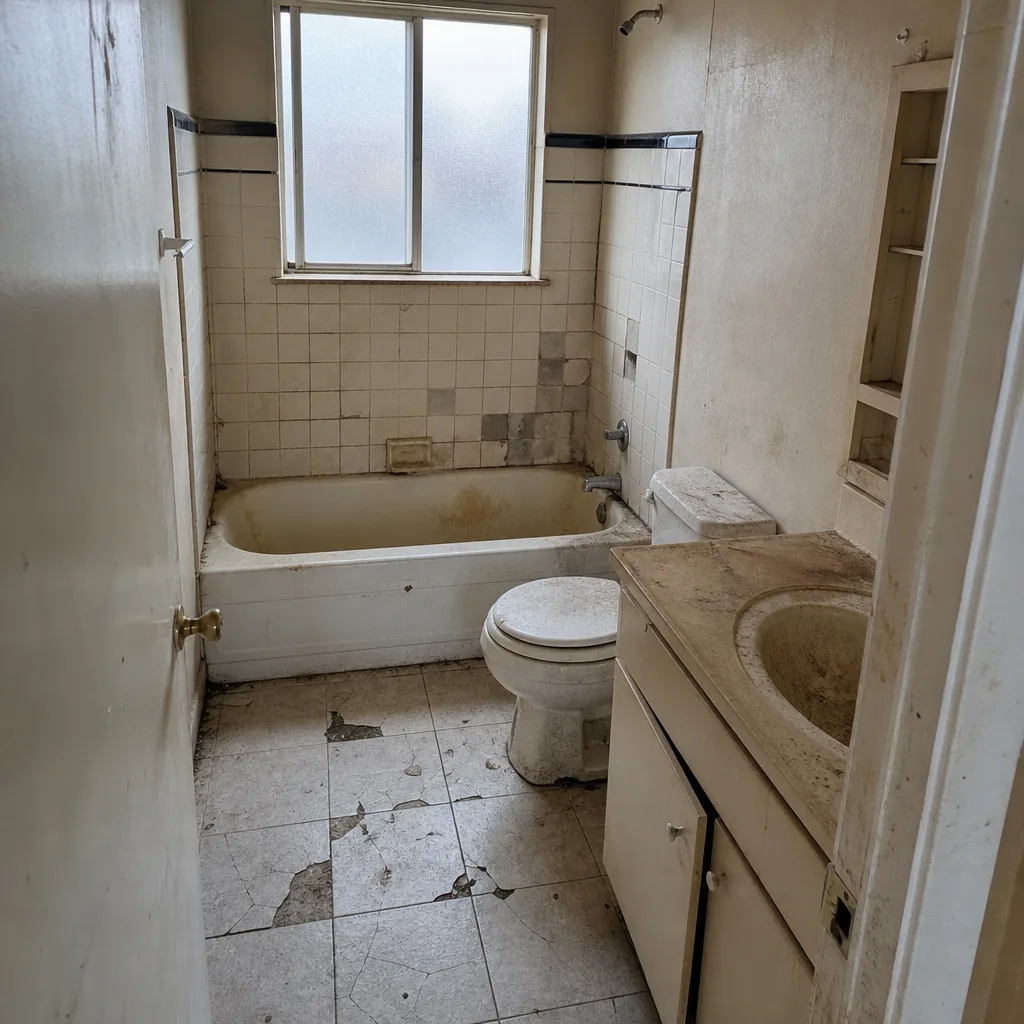
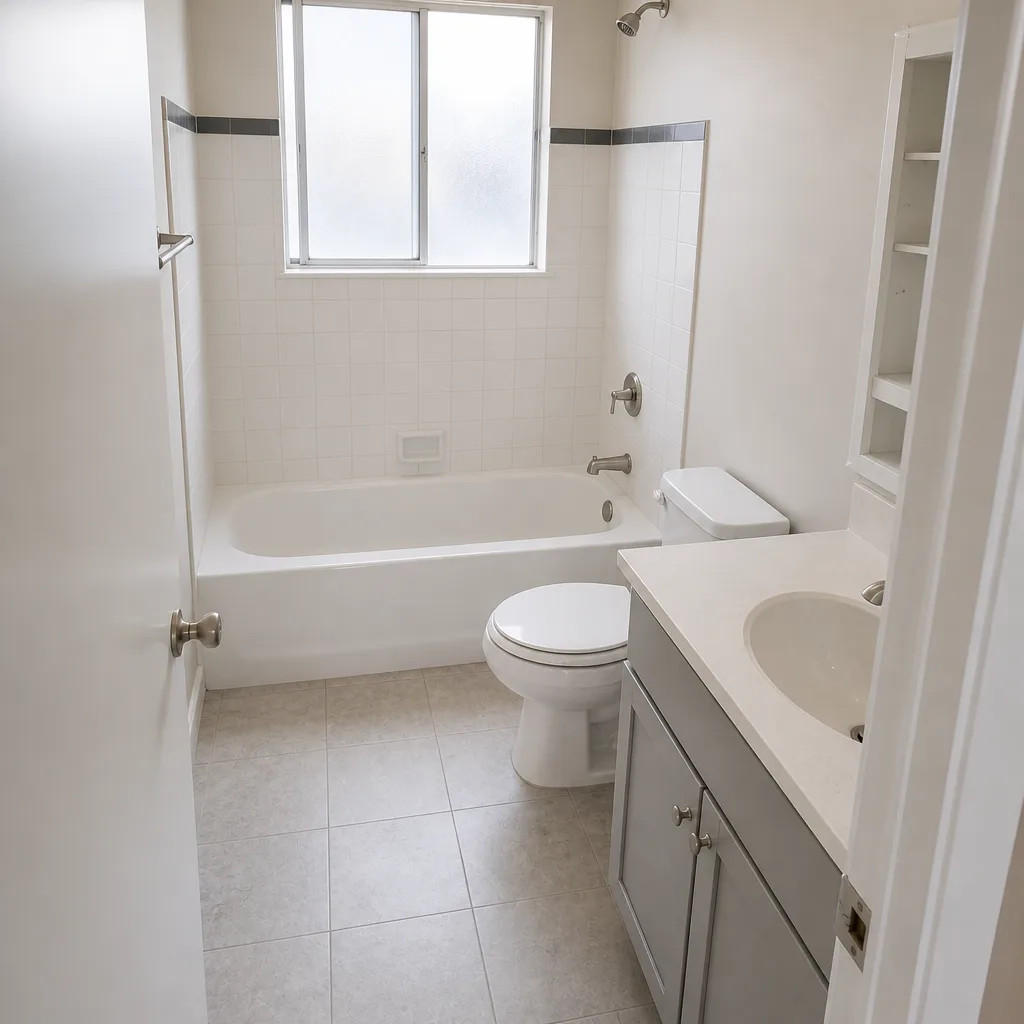
See the difference
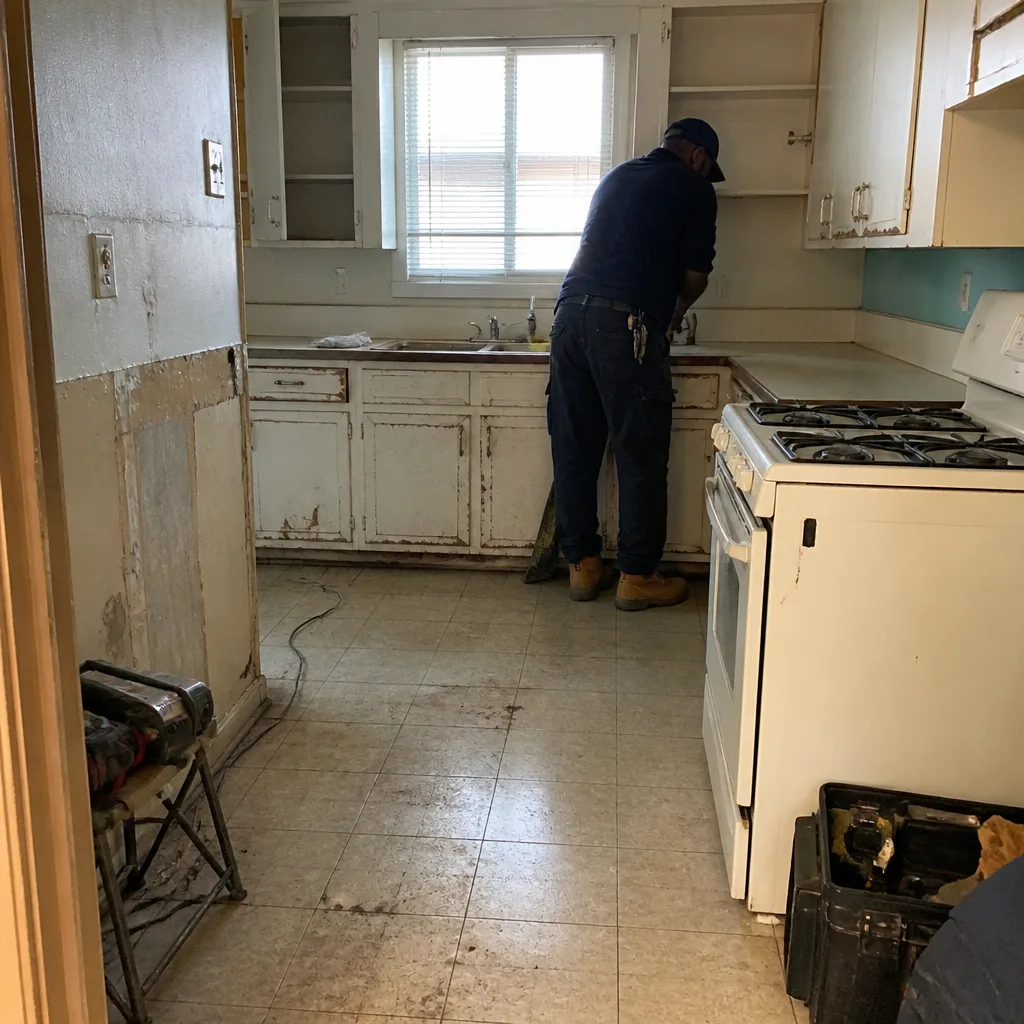 Before
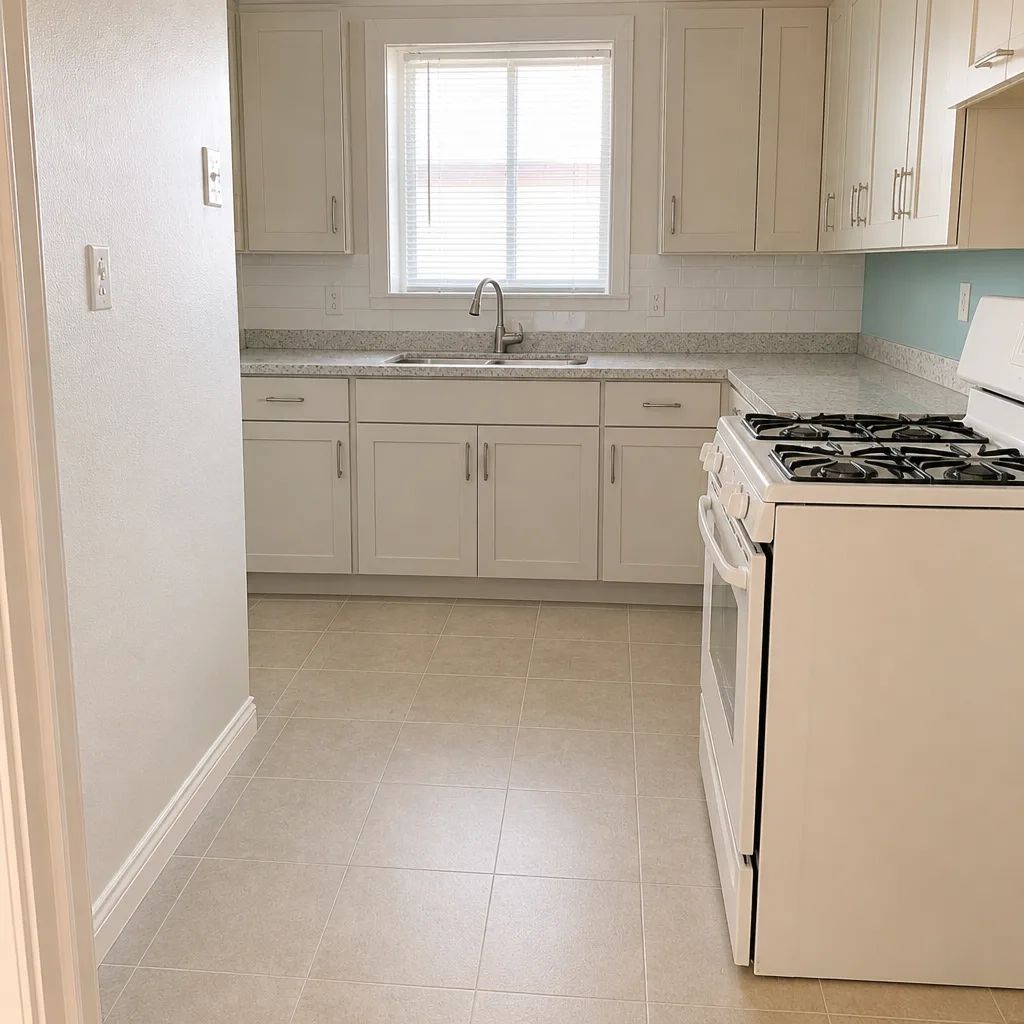 After
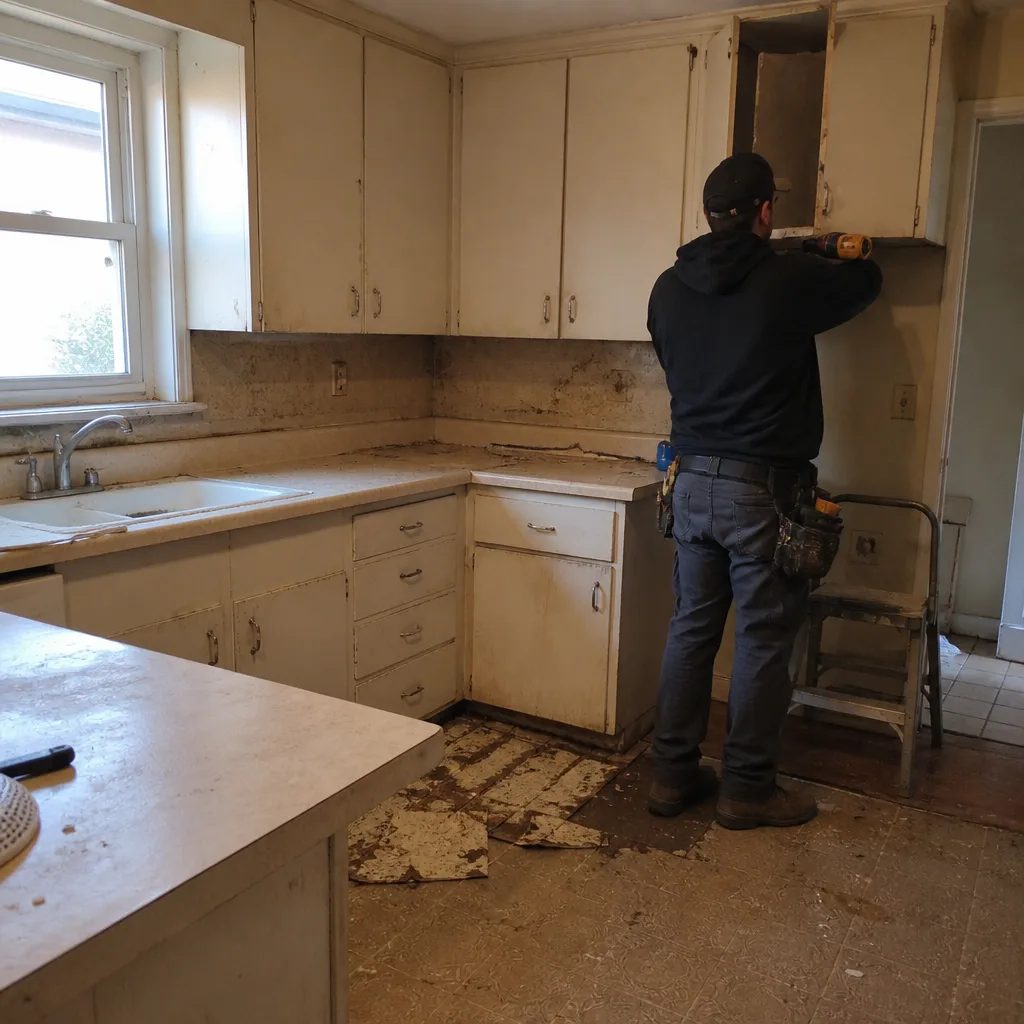 Before
 After
 Before
 After
When to Call a Professional
Call a licensed contractor rather than handling it yourself if any of the following is true: you’re seeing two or more structural-failure signals (recurring cracks, a soft floor, a hollow-sounding tile); you have efflorescence that returns after cleaning, soft drywall, or a musty smell that doesn’t clear; the exhaust fan is measurably undersized for the room; or you’re inside a written warranty period and the defect is covered. Call a handyman only for genuine cosmetic repairs where the substrate is confirmed sound. If you’re not sure which bucket you’re in, describe the pattern to a contractor and let them sort it. Bradford Remodeling Co Fairfield offers free estimates in Fairfield – call (833) 998-3242 and we’ll walk through the symptoms with you.
Frequently Asked Questions
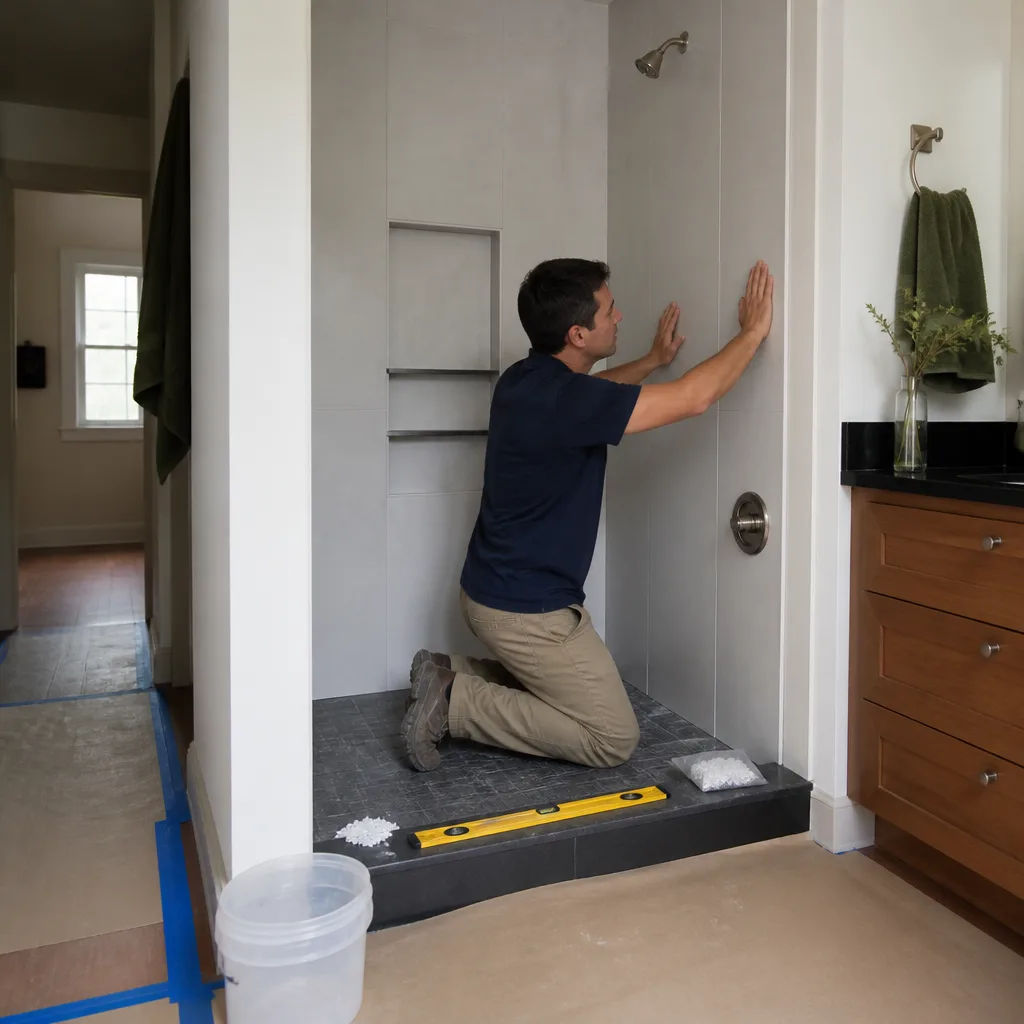
Cosmetic regrouting of a shower floor typically runs a few hundred dollars, but a real fix – removing tile, correcting the substrate or waterproofing, and re-tiling – usually runs into the low thousands, and the range depends on whether the pan has to be rebuilt. If the crack comes back after a first repair, you’re past the cosmetic fix. Call (833) 998-3242 for an exact quote – estimates are free.
Recurring grout cracks mean the substrate beneath the tile is moving, not that the grout is bad. In Fairfield’s climate, the movement usually comes from seasonal thermal movement in the framing, expansive clay affecting a slab-on-grade floor, or a subfloor that deflects underfoot. Recaulting or regrouting will fail again within months. The fix is a movement-accommodating layer, like an uncoupling membrane, under the tile.
Test it with a tissue: if a single-ply tissue won’t hold against the grille, the fan is undersized or the duct is restricted. The rule of thumb is 1 CFM per square foot of floor area for an 8-foot ceiling, so a 70-square-foot bathroom needs at least a 70 CFM fan. If you find a 50 CFM unit in a larger room, replacing it is a modest job with a big payoff.
Stop using the shower, don’t disturb the mold, and document it with dated photos before calling the contractor who did the work. Behind-the-tile mold almost always means a waterproofing failure, and it’s covered under most written workmanship guarantees. If you don’t have a written guarantee, call us at (833) 998-3242. We’ll help you assess the scope and tell you straight whether it’s a small repair or a rebuild.
Yes, if the work involved the plumbing, waterproofing, or structural assembly of the bathroom and the defect traces to a noncompliant installation. The process requires written notice to the contractor before you file anything. Keep the photos, the written scope, and the signed guarantee together, because those are what carry the claim.
A correctly built bathroom should go decades with only cosmetic maintenance. If problems show up within the first two years, they trace back to rough-in, waterproofing, or ventilation, not to normal wear. That window is exactly why a written guarantee with a full-year coverage period makes a difference.
The Bottom Line
Post-remodel bathroom problems almost always trace back to rough-in: the substrate, the waterproofing, or the ventilation. A recurring crack, returning efflorescence, soft drywall, or a musty smell all point to the same thing – a fix that goes deeper than the finish. Diagnose the cause before you touch a caulk gun, document everything from the first photo, and know that a written guarantee is your leverage if the contractor’s work doesn’t hold. If you’re in Fairfield and not sure which bucket your problem falls into, our kitchen remodeling in Fairfield page also shows how we structure these guarantees across the whole home.
Bradford Remodeling Co Fairfield offers free, no-obligation estimates for bathroom repairs, rebuilds, and full remodels in Fairfield and the surrounding area. Call (833) 998-3242 to schedule yours. A live person answers around the clock, every price is written before work starts, every project is backed by the 365-Day Done Right Promise, and every technician who walks through your door is background-checked and uniformed. If the work doesn’t hold within the year, we come back and make it right at no charge.
Written by the team at Bradford Remodeling Co Fairfield.